Thursday, June 30, 2022

Ai Watercolor Weekend July 2, 2022

Hello,

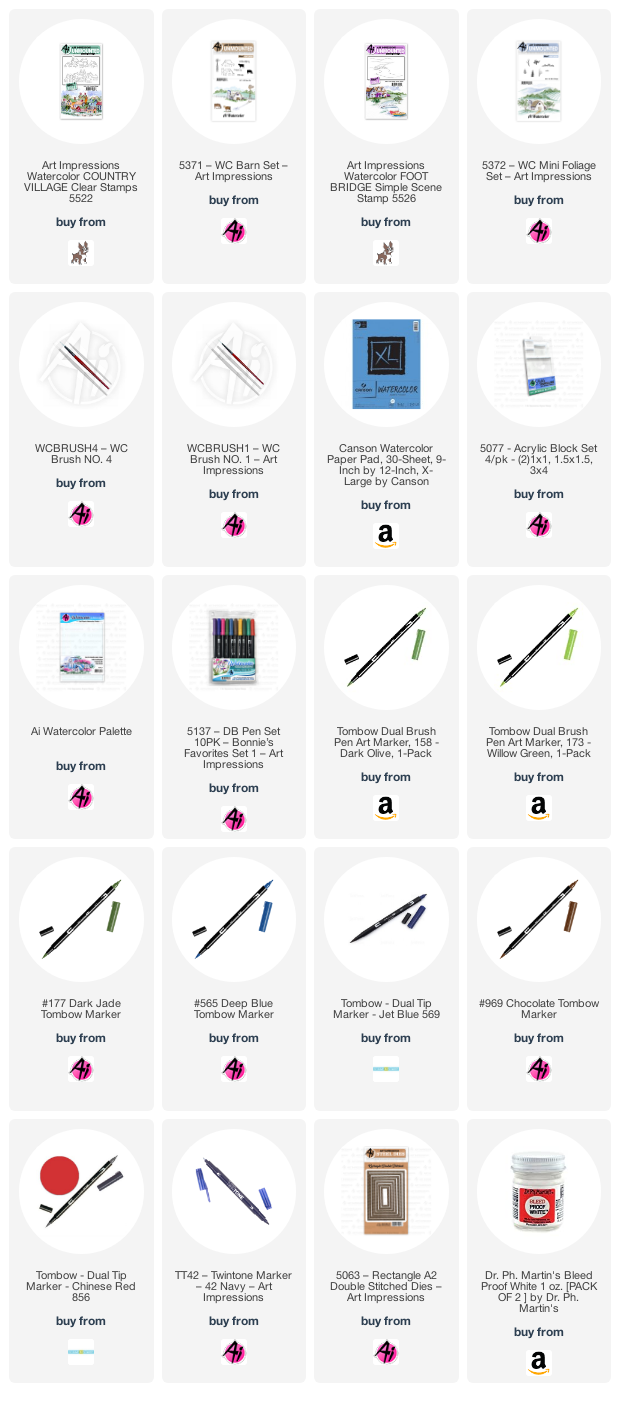
I do love a patriotic card and with Independence Day coming up, I had to make a card with good ole red, white and blue. Kendra Krebs from Art Impressions did a fantastic tutorial on Facebook recently with one pot and she inspired me to make this card. Hope you like it and give it a try! Start by stamping the middle pot from the 4870 Ornate Containers inked in Tombow 565. Make a mask, cover it then stamp the other two pots from the same set inked in the 565. Using a stamp positioner, stamp the birds from the 4866 Bird Bath Set inked in 565 then 969. Color the pots with Tombow 856 and Marvy LePlume II #86 African Violet. I used it this time because it seems to be a more true blue than purple like the Tombows. The stars are glued on and they are from Buttons Galore and More. The flag is a stamp my good friend Connie Myers gave me but not sure which company made it. Stamp the grass from the 4051 Foliage Set 1 set inked in 249 inside the middle pot. Then stamp the leaves from the 5418 Bible Foliage Set 2 inked in 177 inside the pot. The flowers are from the 4052 Flower Set inked in the Marvy #86. The pot leaning over has foliage from the 4051 Foliage Set 1 inside it inked in 249. The flowers are from the 4052 Flower Set inked in 856. The white centers are painted using the Dr PH Martin's bleed proof paint and a stylus. Stamp the leaves from the 5418 Bible Set inked in 158 in the last other pot. Stamp the flowers from the 5474 Flower Set 5 inked in 856 and 177. Color the sky with the #86. Use the two largest 5063 Rectangle dies to make a frame. Hope you all have a wonderful 4th of July!

Supplies used:
Thursday, June 23, 2022

Watercolor Wednesday Tutorial by Bonnie Krebs on YouTube June 22, 2022


Hello,

Have you guys seen the latest Watercolor Wednesday on YouTube by Bonnie Krebs, Owner/Creator of Art Impressions? It's my new favorite and it was really easy to make. Give it a go but you have to have that Dr. Ph Martin's bleed proof white paint. A number 4 and a number 0 paint brush is also needed to paint that fence and arbor. 


Supplies used:

5466 Lighthouses


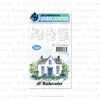
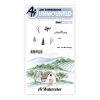
4958 - WC Cottages Set5372 - WC Mini Foliage SetCanson XL WC Paper Pad5137 - DB Pen Set 10PK - Bonnie's Favorites Set 1TT42 - Twintone Marker - 42 Navy

Thursday, June 16, 2022

Ai Watercolor Weekend June 17, 2022


Hello,

It's time for the Art Impressions Watercolor Weekend and I decided to make a farm scene. I love a red barn but decided to go with a pretty aqua color for a change. I used to live in Kansas and this reminds me of it. If you want to make this scene, start by stamping the 5377 Fenced Scene inked in both colors of Tombow markers 969 and 565 in that order then stamp it off before stamping your watercolor paper. Next stamp the chickens from the 4207 Feathers inked in 969. Stamp the barn from the 5371 Barn Set inked in both 969 and 565. Stamp the trees in from the 5372 inked in 969 and the tops of the trees from that same set inked in 177 and 173. Stamp the bushes from the 5372 Mini Foliage set inked in 177. Stamp the cow from the barn set inked in N25. Use Dr. PH Martin's bleed proof white to color parts of the cow and darken the black spots with your Number 1 brush using N25. Stamp the fence from the barn set inked in 969. Color the barn with 379 and darken the windows with the fine tip of the blue Twin Tone pen. Darken the tree trunks with the fine tip of the brown TwinTone pen. Color the road with some 969 and 565. Color the hills with 173 and 177. Stamp the grass from the 4051 Foliage Set 1 with 177. Then use the smaller grass from the Mini Foliage set for the grass by the barn. Color the chickens with 885, 949, 026, 993, 565 and 969. Stamp the tallest grass in front from the 5126 Foliage Set 4 inked in 177 and the tips in 565. Stamp the windmill from the Barn Set inked in both 969 and 565. Use 565 to make shadows. Color the sky with 526. Cut it out with the 5063 Double Stitched Dies. 

Supplies used:

Friday, June 3, 2022

Ai Watercolor Weekend June 3, 2022


Hello,

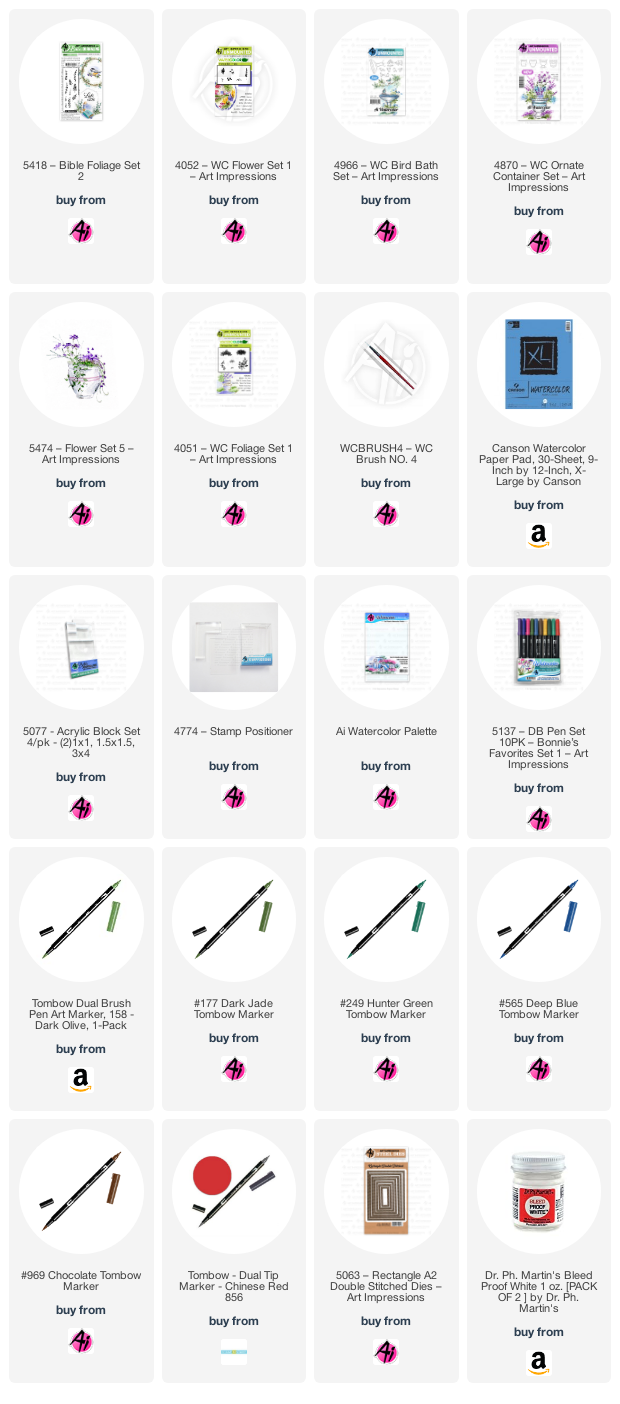
I really don't want to live in the hot desert of Las Vegas anymore so I decided to color up my dream property which includes some of my favorite things - red barn, red flowers, trees, and water to fish in nearby. I'm very patriotic as well, so I had to include a flag. Hope you give this one a try. You could definitely send it for a 4th of July card or party invite. Start by stamping the scene from the brand new 5526 - Foot bridge Simple Scene inked in Tombow pens 565 and 969. Then stamp the barn from the 5371 Barn Set inked the same way. Stamp only the house at the end of the brand new 5522 Country Village the inked the same way. Then stamp the middle house the same way. You don't have to ink all the houses, just the ones you want to use. Pull the color out of the lines the way Bonnie Krebs always shows us how to do in her tutorials. Stamp the trees from the 5372 Mini Foliage Set inked in 158 for the leaves and 969 for the trunks. Ink the leaves in 173 and stamp them again so you get that brighter green, also. Use 969 to darken the tree trunks and add more branches. Color the barn roof 969, the barn 856 and then add shadows with the 565. Use the Dr. PH Martin's bleed proof white to paint the frames on the doors and windows. Darken all the windows of all 3 buildings with the blue Tombow TwinTone fine tip pen. Color the roof of the back house with 969 and the door and the roofs of the front house with the 856. Use a pencil to draw the flag and flagpole then use the #1 paintbrush to color the pole with 969 and use the 856, 569 and the bleed proof white to color the flag. Use 969 to color the brick pattern on the chimneys and then color the bridge slats and road with the #4 paintbrush. Use a mix of 565 and 569 to color the water leaving some white areas. Then use 158 to fill in some of the white spaces. Use 565 to add shadows under the trees and under the bridge. Stamp the mini grass from the Mini Foliage set then use the red pen to add the flowers. Use the bleed proof white to add some white spots to the flowers. Cut it out with the 5063 Double Stitched Dies and then cut out the back ground pieces and attach it all to a card base.

Supplies used:


Thursday, June 2, 2022

Tutorial by Bonnie Krebs on Facebook June 1, 2022


Hello,

I loved Bonnie's tutorial yesterday and did it this morning. The Dr. Ph Martin's bleed proof white is the best stuff.  The more I use it, the more I love it. Hope you give it a try! 

Supplies used rom Art Impressions:


Halloween Card